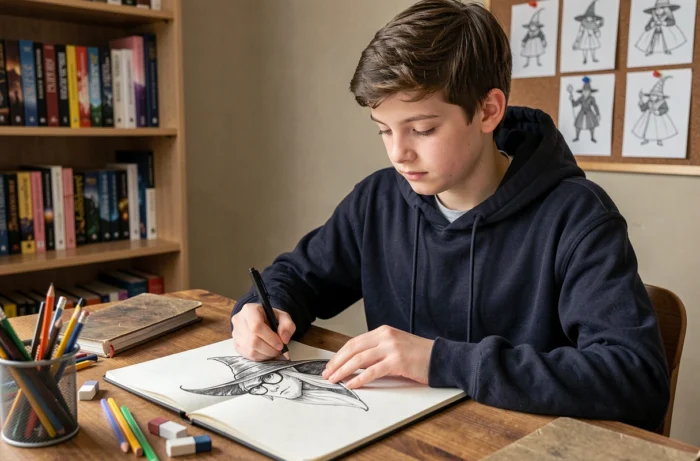
A Harry Potter drawing relies on a few instantly recognizable visual elements: round glasses, a lightning-bolt scar, a striped scarf and a wand. Before drawing a full-body character, it’s more effective to master these symbols individually. This gradual approach lets you adapt the exercise to the artist’s age and the time available, from a five-minute sketch to a complete scene.
Iconic symbols before the portrait: where to start
Most tutorials jump straight into drawing Harry’s face. The problem is that drawing a well-proportioned face already takes a certain level of skill. An easier way in is to start by drawing the iconic objects from the wizarding world: a pair of round glasses, a lightning-bolt scar, the Sorting Hat, a wand or the Golden Snitch.
These simple shapes (circles, straight lines and gentle curves) make a good warm-up. They train the hand to draw smooth, even lines and let a child create a recognizable result in just a few minutes. Once an artist has mastered these symbols, they can naturally incorporate them into a portrait.
When creating an easy Harry Potter drawing, this preparatory step makes all the difference between a frustrating result and a sketch you can be proud of.
The choice of starting symbol also depends on the goal. A child who wants to decorate a birthday card only needs a Golden Snitch and a Gryffindor scarf. A teenager putting together a fan art sketchbook is more likely to aim for a full portrait, followed by a scene.
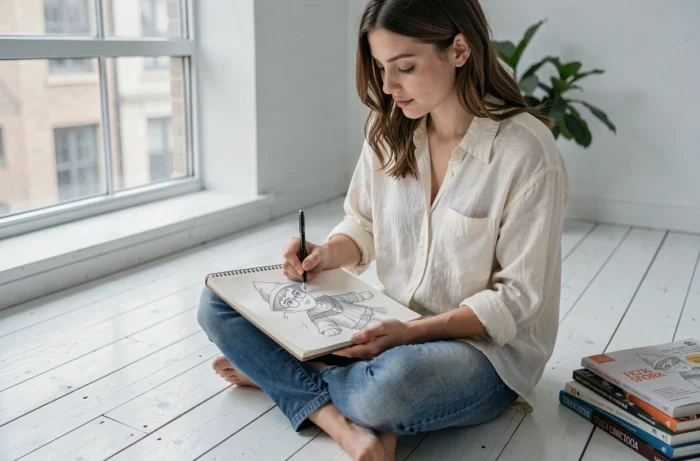
How to draw Harry Potter’s face step by step
The face is at the heart of the drawing. Here’s a breakdown into simple steps that works with any style (realistic, simplified or kawaii).
The basic shape of the head
Draw an oval that’s slightly wider at the top than at the bottom. Add a horizontal line through the middle (as a guide for the eyes) and a vertical line down the center (the axis of symmetry). These two guide lines determine all the proportions of the face. Don’t skip them, even for a kawaii drawing.
The eyes and glasses
Place two equal-sized circles on the horizontal line, about one eye-width apart. Draw a larger circle around each eye to form the round glasses. Connect the two circles with a small bridge above the nose. This detail is the first thing that makes the character recognizable.
The scar, nose and mouth
Place the lightning-bolt scar on the forehead, on the right side of the face (the artist’s left). Draw a small line for the nose and a slightly curved line for the mouth. In a simplified style, two dots are enough for the nostrils.
The hair and other details
Harry’s hair is messy. Draw uneven locks sticking out from the oval in several directions. Uneven locks make the drawing more faithful to the character than a smooth outline. Add the ears on either side, level with the glasses.
From portrait to full character: adapting the difficulty to the artist’s age
A child aged six or older can recreate the simplified face by following the steps above. Drawing a full-body character requires a few additional basics of body proportions.
- Ages 5 to 7: stick to the face and symbols. A kawaii style (a big head and a small body drawn with just a few lines) gives a satisfying result without requiring anatomical skills.
- Ages 8 to 10: add the upper body with the wizard’s robe, striped scarf and wand. The body can be the same height as the head (chibi style) or twice as tall for a more realistic look.
- Ages 11 and up: try a full-body character, including folds in the clothing, hands holding the wand and a dynamic pose. Le Livre de dessin de Poudlard, published by Gallimard-Jeunesse in 2024 for readers aged 9 and up, offers step-by-step guides to more than thirty characters and creatures in a manga style.
The time required varies as much as the skill level. A simplified face takes about ten minutes. A complete character with a background can take one to two hours, depending on the level of detail you’re aiming for.
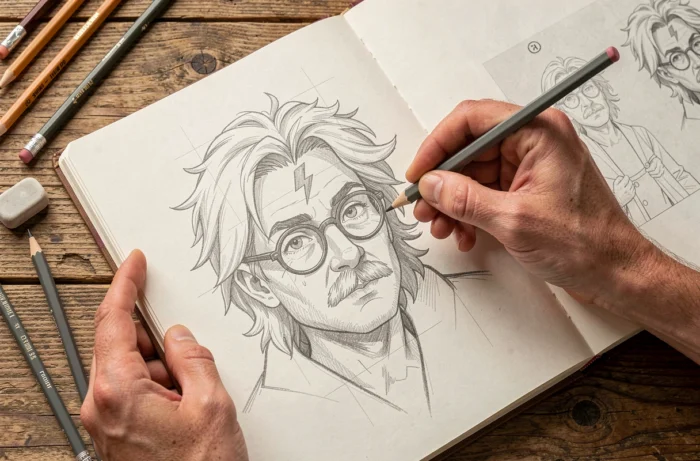
Creating a Harry Potter scene: composition and background
A character standing alone on a blank sheet of paper often lacks impact. Adding context turns a drawing exercise into a real illustration.
The simplest composition is to place Harry in the foreground and draw a recognizable background element. Platform 9 3/4 (a brick wall with a sign), the Hogwarts façade (a few pointed towers and battlements) or the Quidditch pitch (hoops on poles) are enough to set the scene.
Three layers of depth make the scene easier to read: the character in front, a background element in the middle and a simplified backdrop (sky, forest or wall). Even in a very simplified style, this layering creates the effect of a scene rather than a simple sketch.
Another book listed in media library catalogs specifically teaches readers to draw scenes from the film universe, rather than just standalone portraits. This approach to setting the scene encourages artists to think about how the character interacts with the background.
Sharing your Harry Potter drawing online: what to check
Posting fan art on social media or in an online portfolio raises a question that tutorials almost always ignore: the rights associated with the Harry Potter universe.
The official website’s legal notices state that the characters and elements of the universe are protected by rights and trademarks associated with Warner Bros. and J. K. Rowling. Sharing a personal drawing for non-commercial purposes generally isn’t a problem. The line is crossed when the drawing is sold, printed on a product or used to promote a business.
- Sharing for free on a personal social media account: tolerated in the vast majority of cases.
- Selling prints, stickers or merchandise: generally requires a license or permission.
- Publishing in a school or community setting: private or educational use, generally low-risk.
Before selling a drawing inspired by the series, checking the applicable terms of use is the most sensible precaution. Fan art is a tribute, not an implied license for commercial use.
Harry Potter drawings lend themselves to a natural progression, from a symbol sketched in five minutes to a complete scene. Each step adds another tool to the artist’s visual repertoire, whether they’re six or thirty.